> For the complete documentation index, see [llms.txt](https://docs.warpstream.com/warpstream/llms.txt). Markdown versions of documentation pages are available by appending `.md` to page URLs; this page is available as [Markdown](https://docs.warpstream.com/warpstream/reference/integrations/motherduck.md).
# MotherDuck
MotherDuck provides cloud-based, serverless access to DuckDB
## Introduction
There is no direct connection to MotherDuck from any Apache Kafka-compliant service. However, it can be done with an orchestration tool like Estuary. This guide will rely on our [Estuary integration guide](https://docs.warpstream.com/warpstream/configuration/integrations/estuary) and point out what you'll need from MotherDuck to make it all work.
## Prerequisites
1. Please review all the steps available for our [Estuary integration](https://docs.warpstream.com/warpstream/configuration/integrations/estuary) first.
2. Have a [MotherDuck account](https://motherduck.com/) and sign in.
3. WarpStream account - get access to WarpStream by registering [here](https://console.warpstream.com/signup).
4. A WarpStream cluster is up and running with a populated topic.
## Step 1: Get a MotherDuck access token
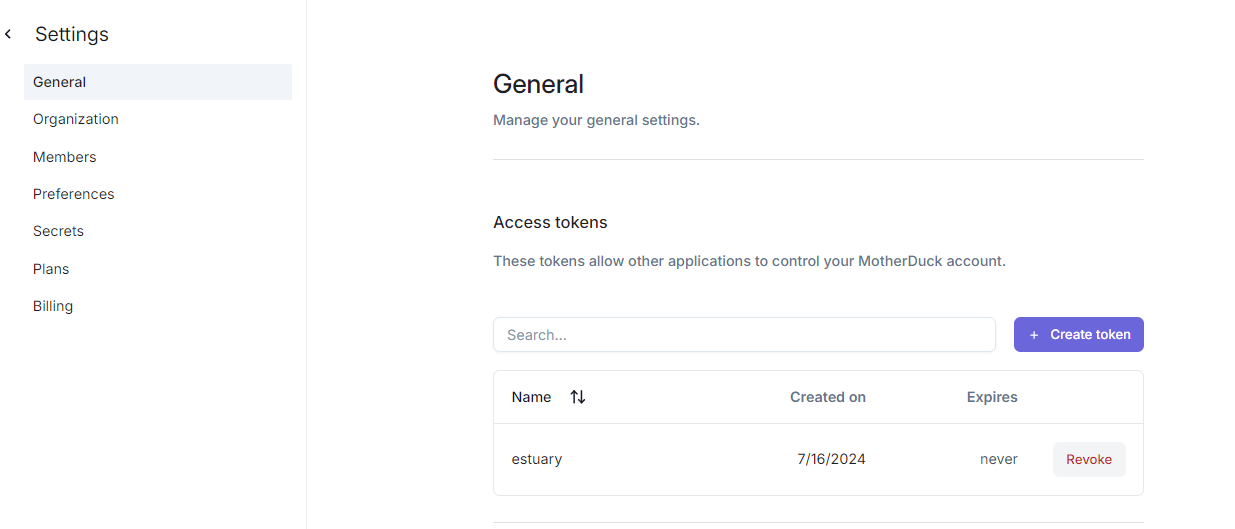
In MotherDuck, navigate to "**General**" under "**Settings**" and select "**+ Create token**." Give it a name and then save it. You will need this in Estuary later.
## Step 2: Get your WarpStream credentials
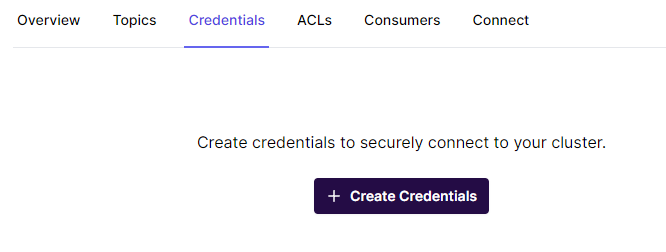
Obtain the Bootstrap Broker from the WarpStream console by navigating to your cluster and clicking the Connect tab. If you don't have SASL credentials, you can also [create a set of credentials](/warpstream/kafka/manage-security/sasl-authentication.md#creating-credentials) from the console.
WarpStream Cluster Management
Save these values along with your MotherDuck access token for Estuary.
## Step 3: Configure Estuary
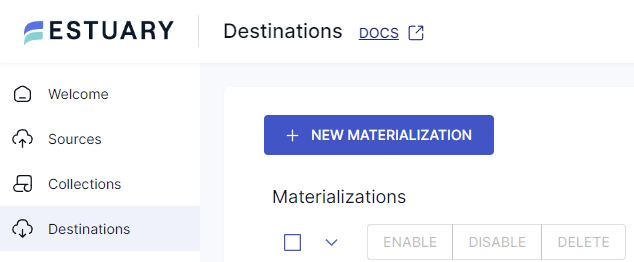
In Estuary, configure a Destination by selecting it from the navigation dashboard and then clicking on "**+ NEW MATERIALIZATION**."
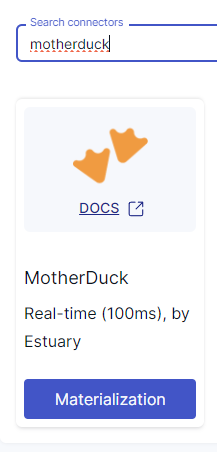
Find and select the **MotherDuck** connector:
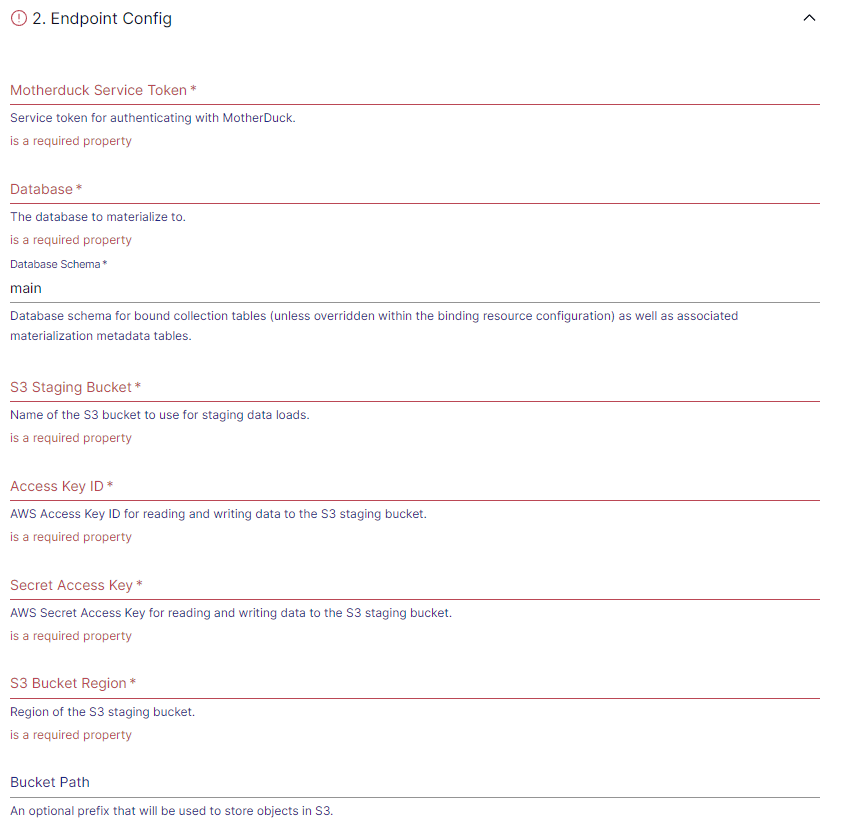
In step 2 below, the first item will be the access token created in MotherDuck. Next will be the database in MotherDuck to create the tables; this should already exist. Estuary needs to stage the data load on AWS S3, so you must define an **S3** **Staging Bucket**, **Access Key ID**, **Secret Access Key**, and the **S3 Bucket Region** for Estuary to utilize.
Estuary MotherDuck Config
Finish your Estuary setup process, and then once your Topics sync to MotherDuck, which is quick, they will display as tables in the database.
## Next Steps
Congratulations! You are now able to pipe your WarpStream topics into MotherDuck via Estuary.
Next, check out the WarpStream docs for configuring the [WarpStream Agent](https://docs.warpstream.com/warpstream/configuration/deploy), or review the [Estuary docs](https://docs.estuary.dev/) and [MotherDuck docs](https://motherduck.com/docs/getting-started/) to learn more about what is possible with WarpStream, MotherDuck, and Estuary!
---
# Agent Instructions
This documentation is published with GitBook. GitBook is the documentation platform designed so that both humans and AI agents can read, navigate, and reason over technical content effectively. Learn more at gitbook.com.
## Querying This Documentation
If you need additional information that is not directly available in this page, you can query the documentation by asking a question.
Perform an HTTP GET request on the following URL with the `ask` and `goal` query parameters:
```
GET https://docs.warpstream.com/warpstream/reference/integrations/motherduck.md?ask=&goal=
```
`ask` is the immediate question: it should be specific, self-contained, and written in natural language.
`goal` is what the user is ultimately trying to achieve, the reason they need the answer. Sharing it helps GitBook give you a better, more relevant answer. A goal is most helpful when it describes the outcome the user wants rather than restating the question. For example, with `ask=how do I create an API token`, a goal like `automate deployments from our CI pipeline` lets GitBook tailor the answer to that use case.
The response will contain a direct answer to the question and relevant excerpts and sources from the documentation.
Use this mechanism when the answer is not explicitly present in the current page, you need clarification or additional context, or you want to retrieve related documentation sections.